Separation
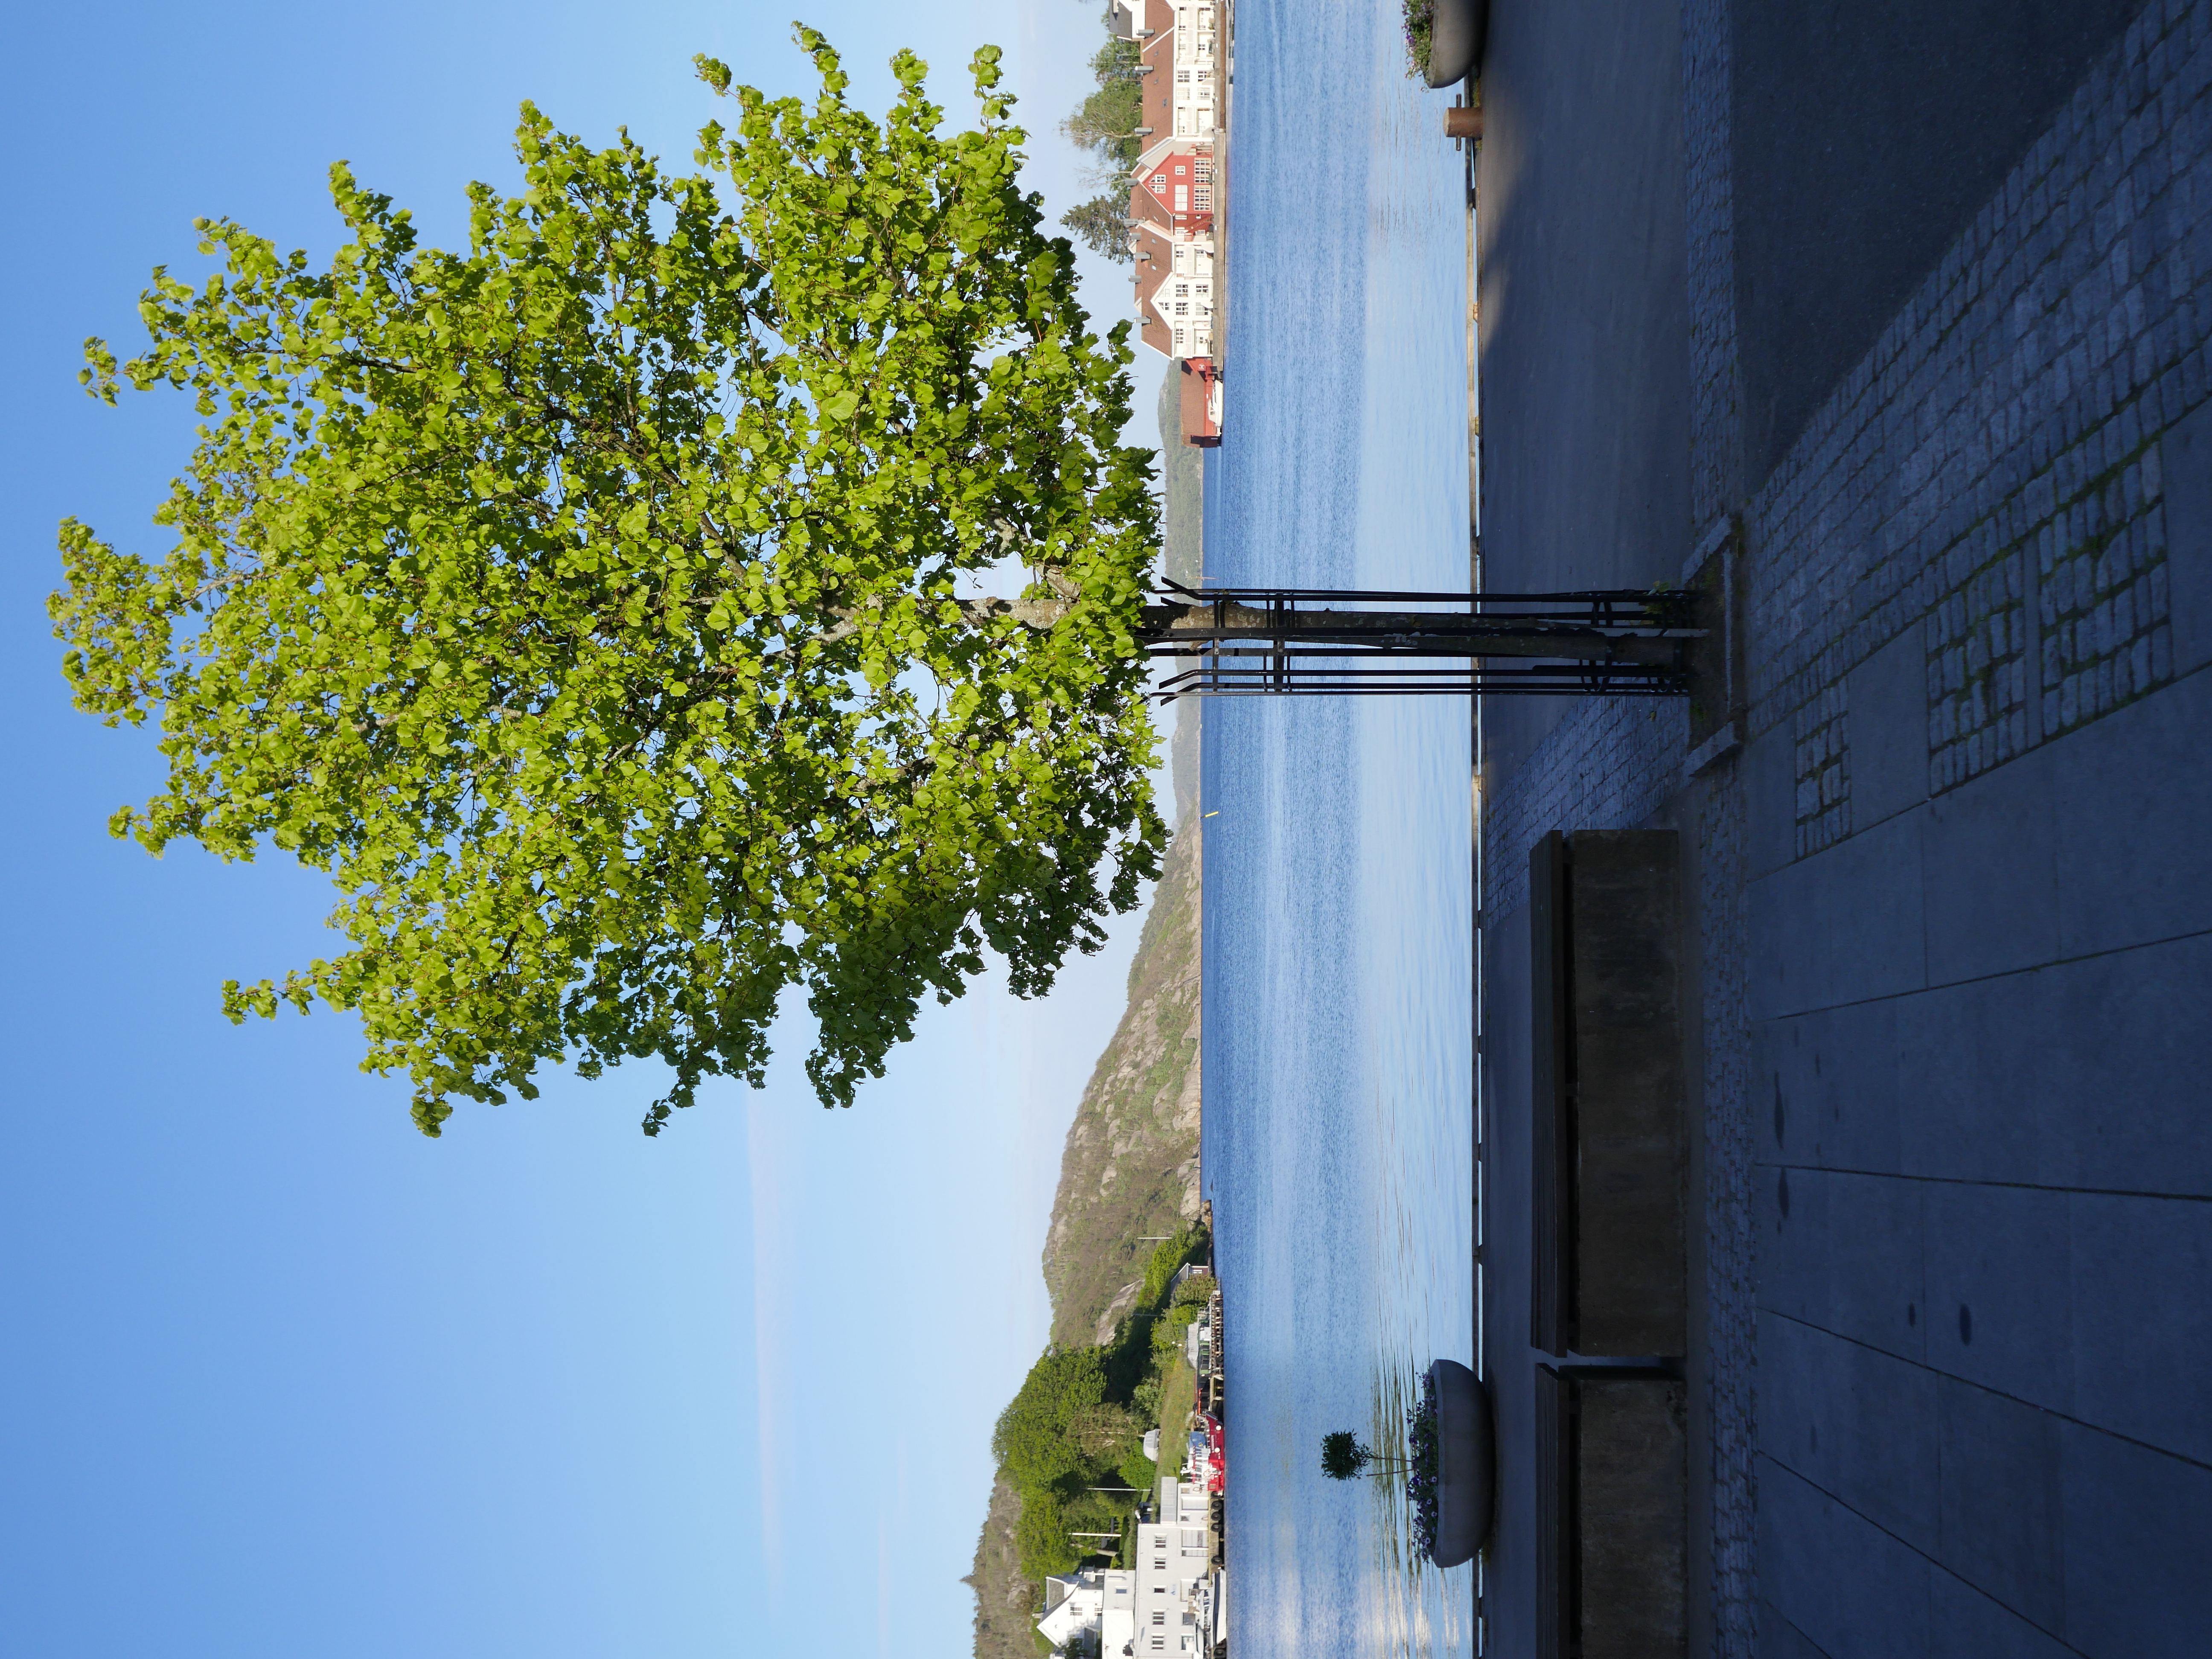
A few weeks ago, I took a picture of a tree at the town square in Farsund. I had wanted to take that picture for a while, but couldn't because the light came from the wrong angle every time I had visited the location. I came maybe three minutes too late at that time and were in a bit of a hurry to take the picture before the light disappeared from my subject, but I was able to take almost the picture I had envisioned. (Maybe I will go back a bit earlier and have time to get it right at some point.)
I tried to separate the tree by not overlapping the houses or the mountains in the background. It's not entirely successful as even more space between the lowest part of the leaves of the tree and the mountain would have been better, but it was what I was able to make while the sun was fast disappearing as you can see on the left side of the tree. I also got separation by only the tree being illuminated in the foreground.
Anyway, this picture got me thinking about separation and how we can achieve it, mainly because I had a bit of trouble with getting the needed separation for this picture. As you can see, the tree is a bit too close to the houses and the hill in the background. If I had more time to think when taking it, I would have been able to make this picture better by separating the subject better from the background. In case it is still unclear, separation is when you want your subject to stand out from the rest of the image. I think there are a few different ways and I have listed them below.
- Negative space and distance to other objects
- Contrasting colours or complementary colours
- Depth of field
- Exaggerated perspective
- Types of shapes and lines
- Light and shadow
- Blurred and not blurred
- Framing the subject
These techniques could be used individually or in combination to create the desired separation between the subject and the rest of the content of the image.
Negative space and distance to other objects
The easiest way to separate the subject of a picture from the surrounding and let it stand out is to put it somewhere where there is negative space or empty space in the background and a bit of distance to other objects. Often objects or people have space in the background that is more cluttered, but by adjusting the composition, you might be able to put negative space in the background instead. Often this involves moving up and down to put the sky behind something instead of a more cluttered landscape or city scene, or maybe to put a calm fjord, sea or lake behind the subject.
To isolate the subject further, maybe you would have to move closer to it so other objects seem further away. (Be careful not to move too close if you shoot a portrait. If you get really close, the body part closest to the lens will be larger and further body parts will be smaller, especially if you also use a wide angle lens. To be able to be at a working distance that is far enough away to not give perspective distortion of people's body parts is why people use short telephoto lenses for close up portraits.)
You may also find that you can create more distance by simply looking at the subject from another angle. Say if there are close-by things on the left or the right, but not on the close – far axes, simply move close to the thing on the left and shoot with the previous close-far axes as the new left-right axes in your photo and try to hide the thing now behind the subject (previously on the right) with the subject or by using a shallow depth of field.
Contrasting colours or complementary colours

Another way to create separation is to have your subject in one colour that contrasts to its surroundings. If everything else in the scene is in pale autumn colours, having a subject in a springy green will set it apart. This would also be a complementary colour to red which makes even the contrasting colour fit in to the rest of the colour scheme.
Maybe the easiest is to choose a subject in a stronger or more vibrant colour than the rest of the frame, but it is also possible to do the opposite and have the subject be paler. The good old black and white photo with a person or object in colour is also a variation on this concept. In the olden days, black and white portraits were sometimes coloured by hand and then you could really play with these kinds of effects.
Depth of field

This seems to be the most popular form of separation these days, especially for portraits. People buy an expensive lens with a fast aperture and want to show it off. It is a nice effect, but it is one of those tools in the toolbox that you should take care not to use just because it is there. Have a look at the pictures of great photographers and think about how many of their iconic shots use a shallow depth of field and why they do or do not. To create shallow depth of field is easy (even on MFT and APSC), but it doesn't make a picture good by itself.
On the other hand, shallow depth of field can look really nice and it is a nice way of creating separation, but there are a couple of pitfalls to avoid, like not having the whole face of the person in focus (or the whole object) by going for the fastest aperture available without any thought and thus rendering the picture less of a portrait or macro and more of a picture of boke, or not thinking about your background and having clutter or strong colours in the blurred out bits that are still somewhat distracting even when blurred out.
To create shallow depth of field, you have to be close to your subject (but beware of perspective distortion if you shoot people), have a large distance from the subject to the background, use a long focal length and use a wide aperture. The longer the focal length, the less wide an aperture or the less close you need to be to your subject to get the same width of your depth of field. A 50 mm f/1.4 gives you half the depth of field of a 25 mm f/1.4 at the same distance from your subject.
Even if it is possible to get a slightly narrow depth of field with a wide angle lens if it has a wide aperture, longer lenses are better for shallow depth of field. For portraits, standard lenses or short telephoto lenses are generally used to get a long enough working distance to not make the closest parts of people's bodies unproportionally large. They also make shallow depth of field easier because of their longer focal lengths. If you are unable to get the effect you are after, get closer to your subject or use a lens with a wider aperture or longer focal length.
Exaggerated perspective
Another way to create separation is to use an exaggerated perspective with a wide angle lens (19 mm or less on MFT) to create the illusion of a larger space between the subject and the background. With wide angle lenses, the background becomes smaller than when using longer lenses and this creates the feeling in the viewer that there is more distance between the subject and what is in the background. The shorter the focal length, the more exaggerated the perspective.
Street photographers often use wide lenses this way. With a person as their main subject quite close to the camera and other people, houses and other objects in the background. If they are really close to their subjects, the subject's faces will look strange and unnatural, but sometimes a flattering or natural looking portrait is not the effect the photographer wants. In narrow streets, you get more of the scene into the frame while also making everything except the foreground look further away with a wide angle lens.
Films also often use close-ups with (mild) wide angle lenses to get separation through the exaggerated perspective. Maybe that's the reason why half of Hollywood has nose jobs. (The nose, as the protruding part, is the one body part most often looking unnaturally large when shot close-up with a wide angle lens while the rest of the face, because of the exaggerated perspective, looks unnaturally small and distant in comparison with the nose.)
Types of shapes and lines
It is also possible to create separation by the types of shapes and lines used. What I mean by this is that some lines and shapes are hard, squared and use 45 degree angles or factors of it frequently, while other lines and shapes are soft and rounded. If the subject of a photograph has soft shapes and lines and the rest of the scene has hard shapes and lines, then that contrast will separate the subject from the rest of the scene.
There are many pictures of hard shaped fences and gates with soft shaped landscapes in the background. In urban exploration, abandoned factories or warehouses might have old machines that have round wheels for hand-cranks, gears or power transmission while the surroundings are buildings with hard, squared shapes and sharp corners.
I don't think people think so much about the contrast in shapes and lines as they think about colours and shallow depth of field. Or maybe that is just me not being very aware of this before thinking more about it now.
Light and shadow
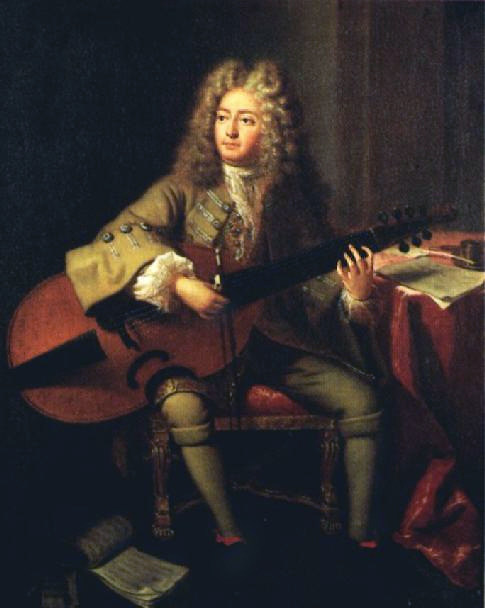
Separation through use of light and shadow is an old technique used a lot in baroque era paintings. Often the light would illuminate the subject while most of the background lay in shadow. You can achieve the same effect by lighting your subject with a flash like in the painting of Marais where the light source is on the left side of the subject at approximately a 45 degree angle, lighting him down from above and use an aperture that renders little of the available light in the background visible in the shot. In a studio, if you use separate background lighting, you would usually illuminate the background less than the subject to make the subject stand out.
Today, many people lighten up areas within their image they want the viewer to focus on in post-processing, especially for images shot with only available light. If you do not overdo it, it can look quite natural even if the lighting is a bit uneven. This is basically the same concept as "dodging and burning" that people do in the darkroom to expose different parts of their image differently when developing film.
The use of a kicker light or hair light (or the sun if outdoors) to illuminate the hair from behind in addition to a key light in front or slightly to the side is another variation of separation by light and shadow where the idea is that the hair (especially if dark) should not blend into the background, but rather stand out by being more illuminated than the background.
Blurred and not blurred
It is also possible to create separation by having everything in a picture blurred by motion blur except the subject. If you shoot something or someone still while the rest of the scene moves with a slightly long exposure, like a statue on a busy street, you get this effect. The night photograph of blurred out lights and dark surroundings made by a long exposure by night is sort of the same idea, but in reverse.
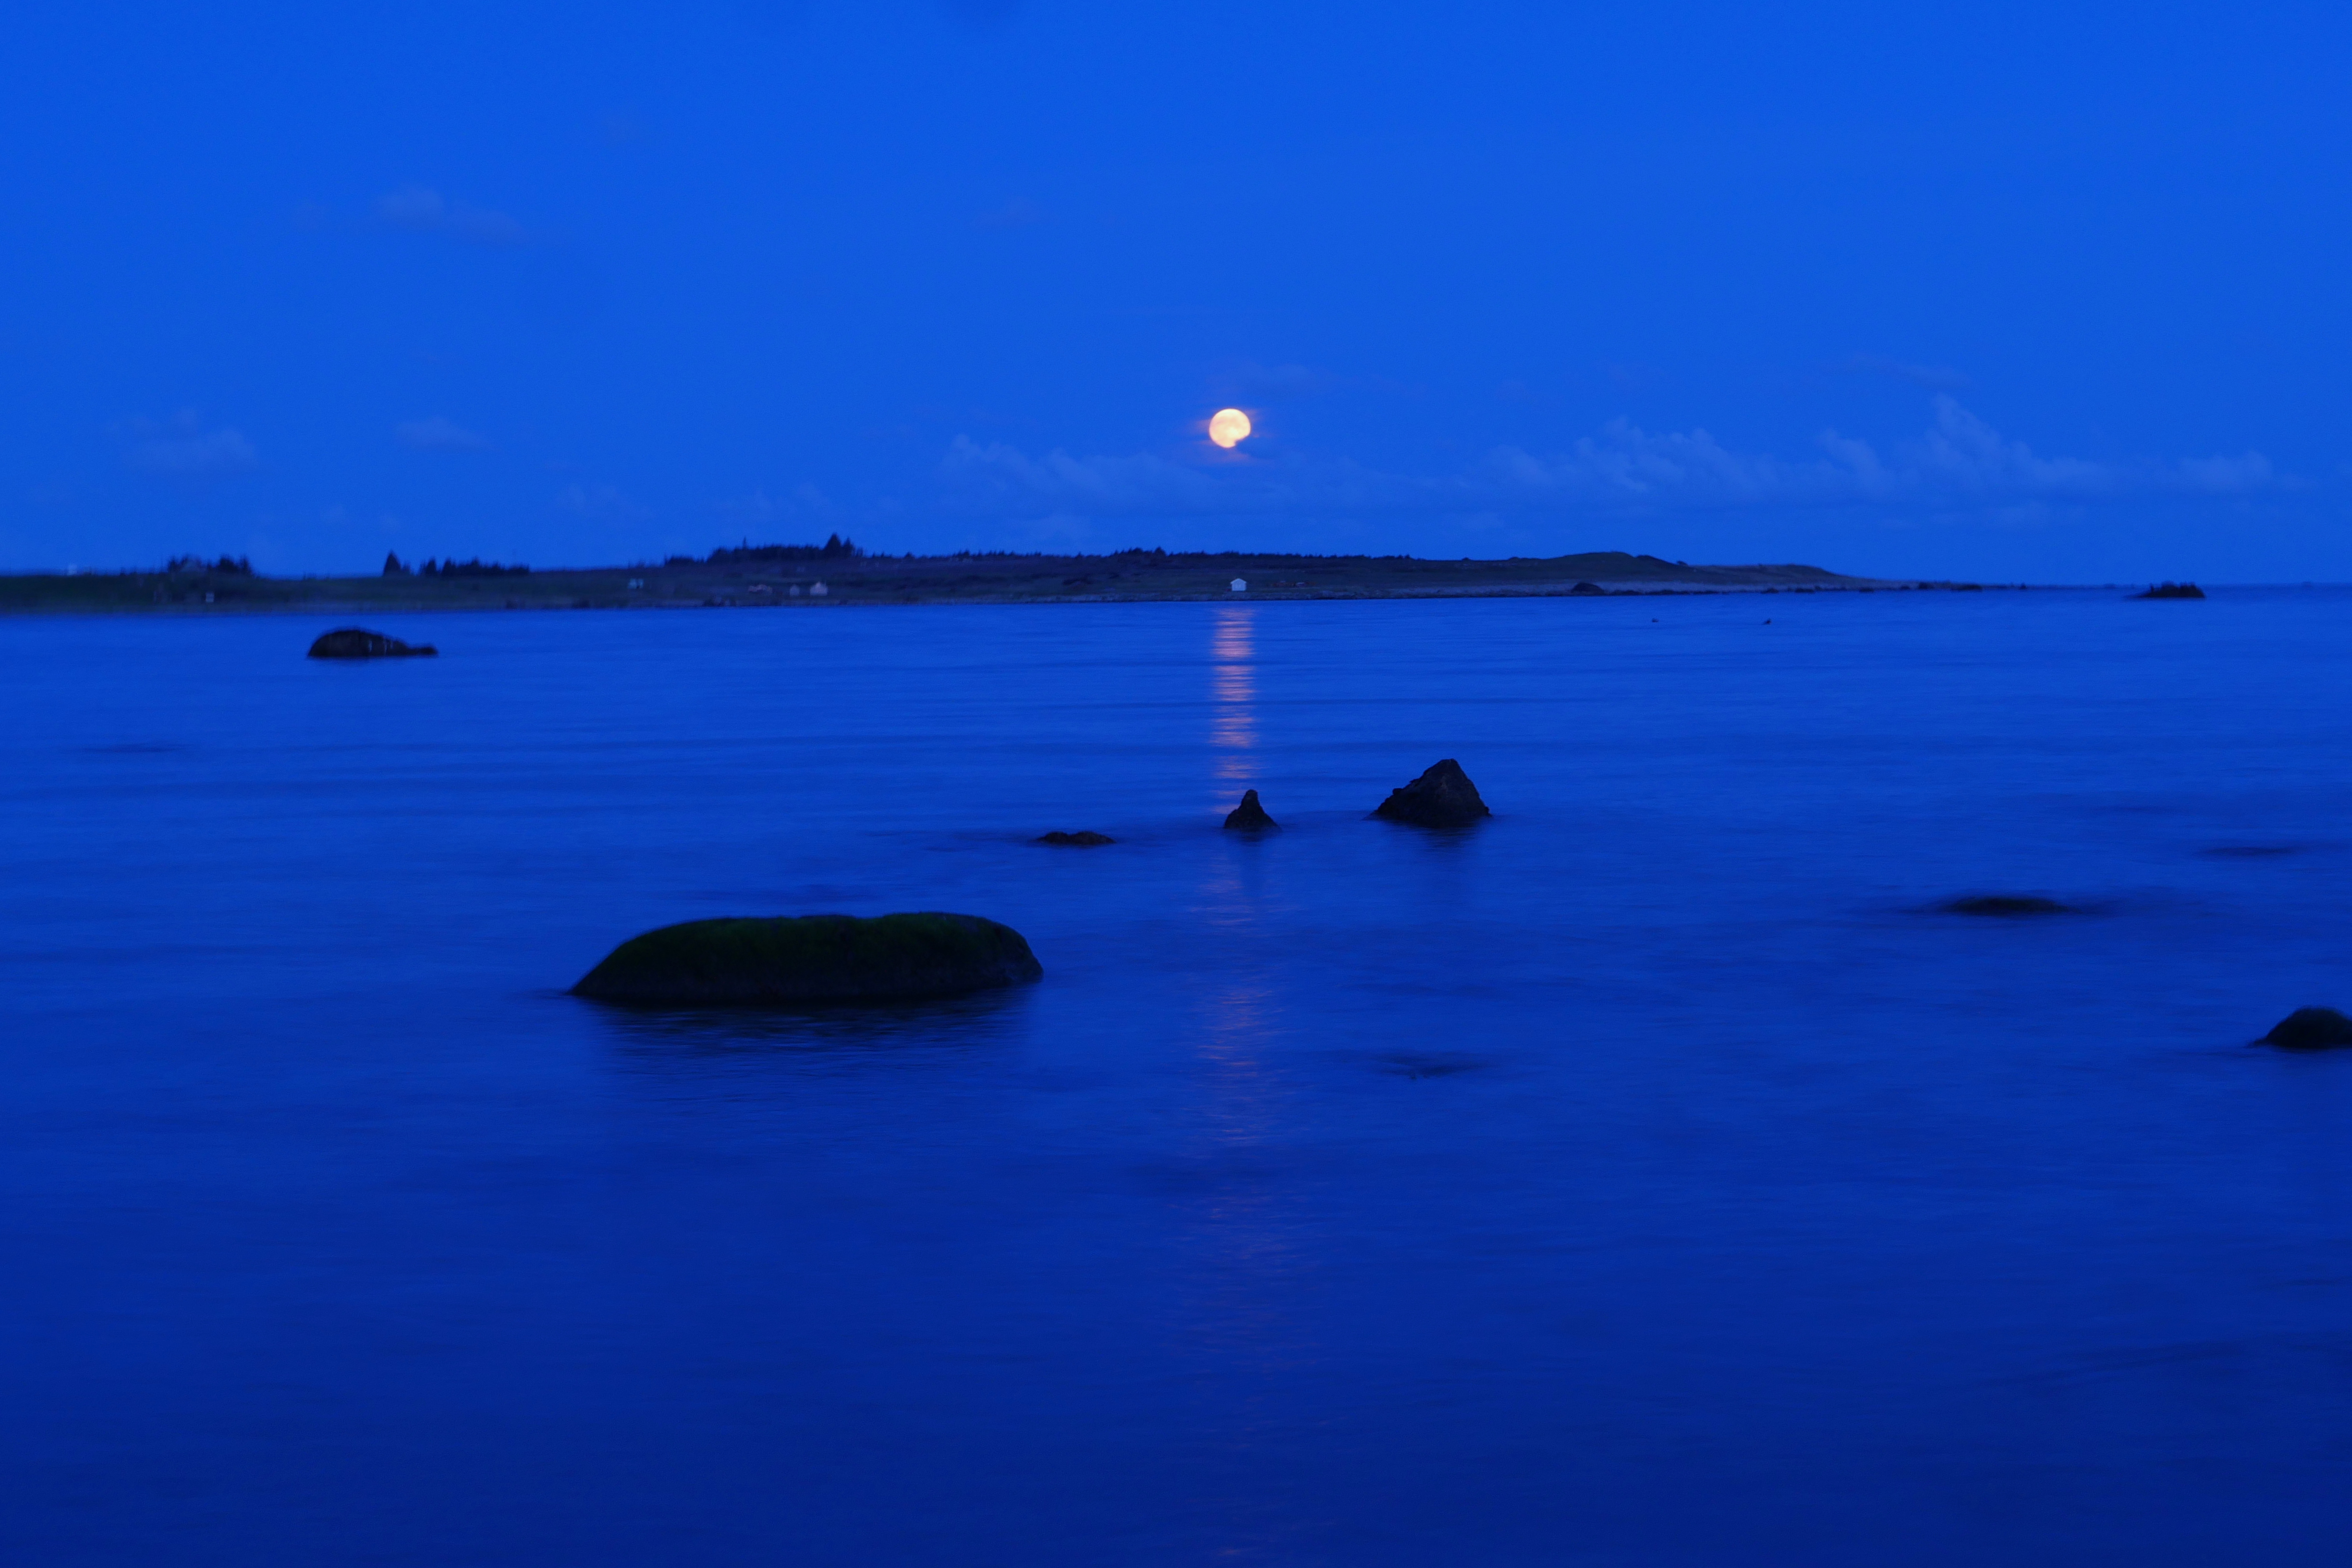
Many landscape and cityscape photographers use long exposures of the sky or the sea, especially on windy days, to create an otherworldly blurred out cloud where only the still bits of the scene sticks out, like stones in the sea or the top of tall buildings in front of a blurred out sky. This is usually achieved by using ND filters to not overexpose the image.
You can also get the effect of one relatively unblurred subject with a blurry background if you pan with the same speed as your subject while it is in motion. Sport photographers are often good at this technique and it is used a lot for shooting cyclists, formula one and other fast moving sports.
Framing the subject
Another way to create separation is to use some kind of "frame" around the subject. The "frame" could be either something in front or around the subject that blocks the rest of the view further back or it could be something behind the subject that puts it within a frame. Arnold Newman used this technique in his famous photo of the the Nazi war criminal Alfred Krupp where there is a square "frame" where we see the factory of Krupp's behind him and walls to either side of him that put him within that frame.
